How I Save Tomato Seeds
📌 Quick Summary: Tomato Seed Saving Process
- Select the Best: Choose a fruit that perfectly matches the variety’s traits. Avoid fruits from megablooms or those with Blossom End Rot.
- Mark It: Write the variety name directly on the ripening fruit with a permanent marker so nobody accidentally eats it.
- Fermentation: Squeeze the seeds and juice into a cup, add some water, and leave in a warm place for about 3 days. A layer of mold on top is normal.
- Rinse and Dry: Wash the seeds in a fine mesh strainer, rubbing gently to remove the gel sac. Dry them on a piece of paper.
- Storage: Keep them in paper envelopes until the end of the season to ensure they are 100% dry, then transfer to ziplock bags to prevent over-drying.
I am going to write down how I save my seeds. No one has ever complained about the germination rate or the quality of my seeds!
1. Choosing the Right Tomato
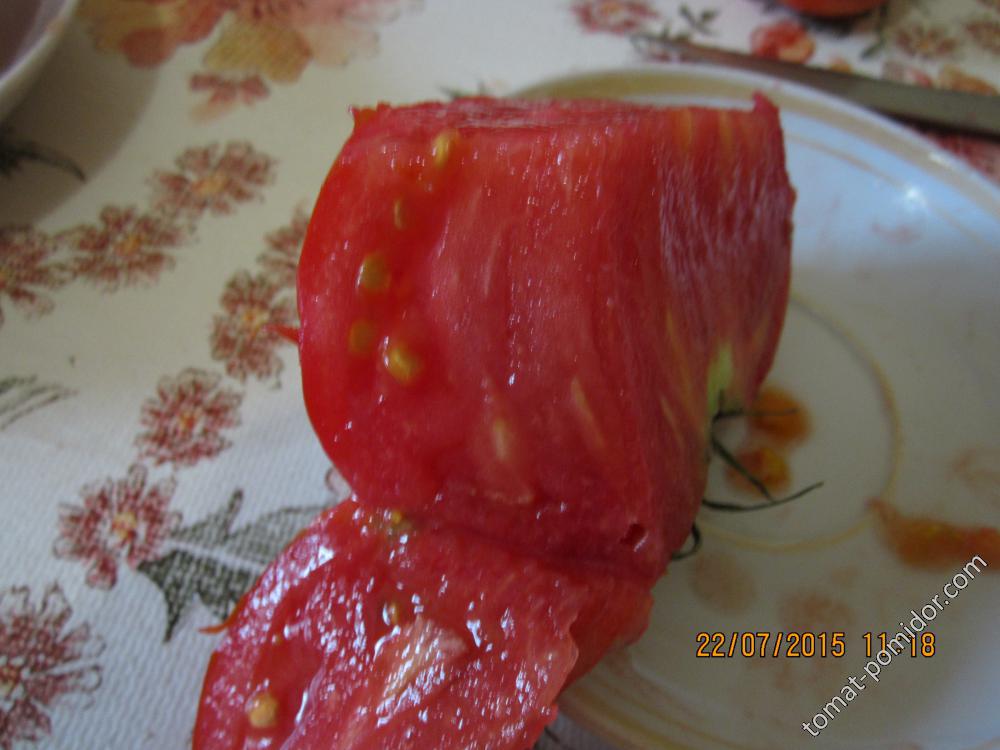
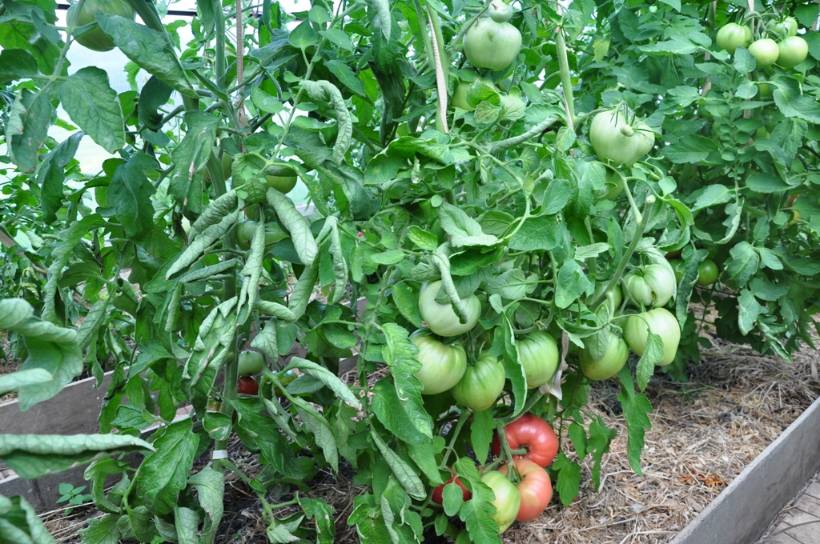
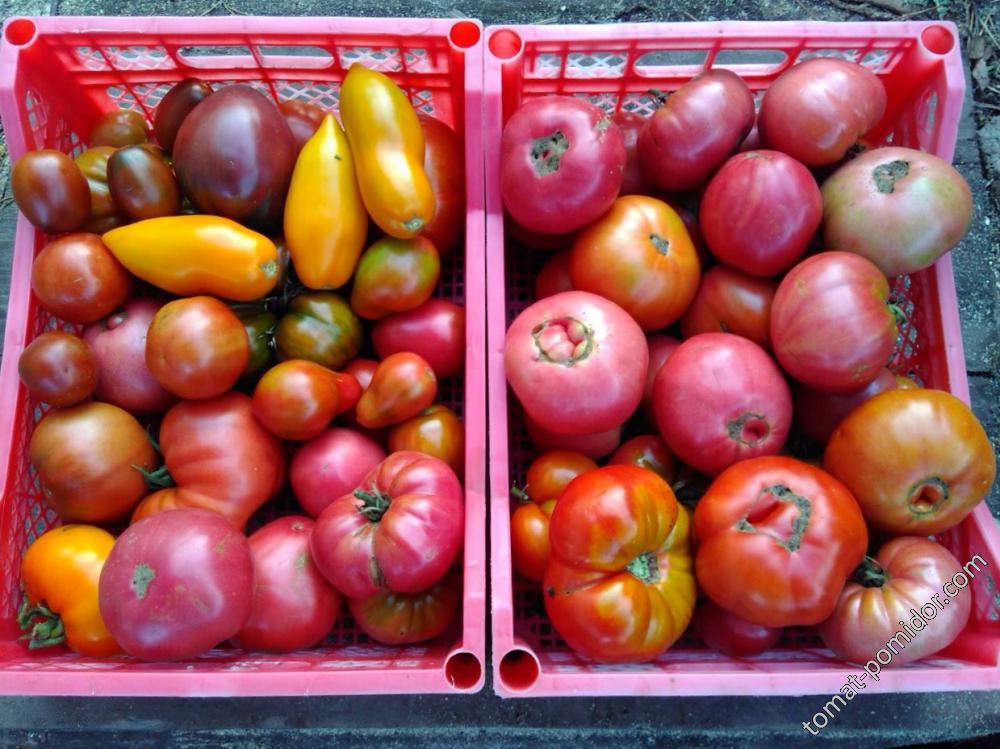
First, you need to decide which tomato you will use for seeds. It can be from the first, second, or third truss, but the main thing is that it must perfectly match the varietal characteristics (shape, color, size).
I absolutely do not take fruits grown from megablooms (fasciated blossoms), and certainly not fruits damaged by Blossom End Rot (BER). I never take seeds from sick bushes. If a plant has a low yield, I might save seeds from it to give the variety a second chance next year, but until I get a healthy and highly productive bush, I do not share those seeds with anyone.
2. Protecting and Ripening the Fruit
To prevent my “helpers” (family members) from accidentally picking it, I use a permanent marker (like a Sharpie for CDs) and write the variety name directly on the skin of the tomato right as it starts to ripen on the vine.
The tomato intended for seeds must fully ripen on the bush, and after that, it should sit indoors for 2-3 days. If you keep it too long and let it overripen and turn to mush, the seeds might germinate directly inside the tomato!
3. The Fermentation Process
I cut the ripe tomato in half and use a small knife to scoop out the seeds along with the juice, pouring it all into a cup. I add a little plain cold water, cover the cup with a half-sheet of paper with the variety name written on it, and place it in a sunny, warm spot. At temperatures around +25 to +28°C (77 to 82°F), 3 days of fermentation is usually enough.
Sometimes white or black mold grows on top of the liquid in the cups. This only means that the environment is not sterile, and you shouldn’t be afraid of it. You can just scoop the mold off before washing the seeds.
4. Washing and Drying
I wash the seeds in a fine mesh strainer, rubbing them slightly with my fingers to remove the gel sac (the seed coat), but most of the time it washes off perfectly on its own during fermentation.
I tap the seeds out of the strainer onto the paper sheet with the name on it and leave them to dry. Then, I fold the paper into a small envelope (origami-style, like old-school pharmacy powder packets). I keep them stored in this paper until the very end of the gardening season. During this time, the seeds dry out thoroughly. Only after that do I transfer them into ziplock bags so they don’t over-dry.